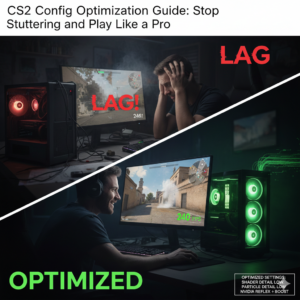
Optimizing Your High-End Rig: The Ultimate CS2 Config Optimization Guide (2026)
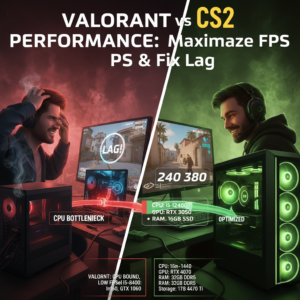
You’ve dropped serious eddies on a beastly rig—RTX 40-series, an X3D processor, and a monitor with a refresh rate faster than a caffeinated hummingbird. Yet, you’re still feeling that phantom input lag or seeing micro-stutters when a smoke pops. What gives, choom? Even the most expensive hardware can be bottlenecked by a messy config file. This guide focuses on CS2 config optimization for the enthusiast who refuses to compromise on latency or frame pacing.
The Diagnosis: Why Your Beast PC Still Stutters
It’s not your hardware; it’s the engine. Source 2 is beautiful, but it’s a demanding beast that doesn’t always play nice out of the box. The issue usually isn’t raw power—it’s frame pacing and input latency.
-
Bloatware: Default settings often prioritize visual fidelity (fancy shadows and post-processing) over raw competitive speed.
-
Sub-Tick Jitter: While Valve’s sub-tick system is a game-changer, it can feel “floaty” if your network settings aren’t clamped down in your config.
-
Driver Conflicts: High-end GPUs often try to “pre-render” frames to boost raw FPS numbers, which ironically increases the time it takes for your mouse click to register on screen.
We aren’t trying to make a potato PC run the game; we are tuning a Ferrari for the racetrack.
Phase 1: The “Clean” Launch Options
Many legacy CS:GO launch options (like -threads) actually hurt performance in CS2. We want a lean, mean boot sequence.
Right-click CS2 in Steam > Properties > General > Launch Options.
Paste this stripped-down, enthusiast-grade line:
-high -novid -nojoy -softparticlesdefaultoff +fps_max 0
-
-high: Forces your CPU to prioritize the CS2 process.
-
-novid: Skips the intro video (get into the server faster).
-
-nojoy: Disables joystick support, freeing up a tiny bit of RAM and interrupt cycles.
-
+fps_max 0: Uncaps your framerate. Note: If you experience thermal throttling or inconsistent frame times, cap this to your monitor’s refresh rate (e.g.,
+fps_max 360) for better stability.
Phase 2: The Autoexec – The Heart of CS2 Config Optimization
You shouldn’t be typing commands every time you launch. Create an autoexec.cfg file in your game’s .../game/csgo/cfg/ folder. This is where the real magic happens.
Target: Lowest possible input latency / 1% Low FPS stability.
Copy-paste these commands into your file:
// --- Network & Sub-Tick Optimization ---
cl_updaterate "128"      // Forces engine to request 128 updates/sec (even if server is 64-tick, this helps packet handling)
cl_interp_ratio "1"      // Reduces interpolation buffer for lower latency
cl_interp "0.015625"     // Tightens up the interpolation window (15ms)
rate "786432"            // Max bandwidth allowance. Essential for high-speed internet.

// --- Audio Precision ---
snd_headphone_eq "0"     // Flat EQ for raw sound.
snd_spatialize_lerp "0.5" // Tweak this: Lower (0.0) is wider L/R isolation, Higher (1.0) is focused. 0.5 is the sweet spot.

// --- Visual Clarity (No FPS Loss) ---
r_show_build_info "0"    // Hides the bottom-left version text.
func_break_max_pieces "0" // Reduces debris from broken vents/boxes.

// --- The "Feels Good" Viewmodel ---
viewmodel_fov "68"
viewmodel_offset_x "2.5"
viewmodel_offset_y "0"
viewmodel_offset_z "-1.5"
viewmodel_presetpos "3"

echo ">>> OPTIMIZED CONFIG LOADED CHOOM <<<"
Don’t forget to add +exec autoexec.cfg to your launch options if it doesn’t load automatically!
Phase 3: NVIDIA Control Panel & Reflex Settings
For high-end setups (RTX 3070/4070 and above), your GPU is likely waiting on your CPU. This “CPU-bound” state is where input lag creeps in.
In-Game Video Settings:
-
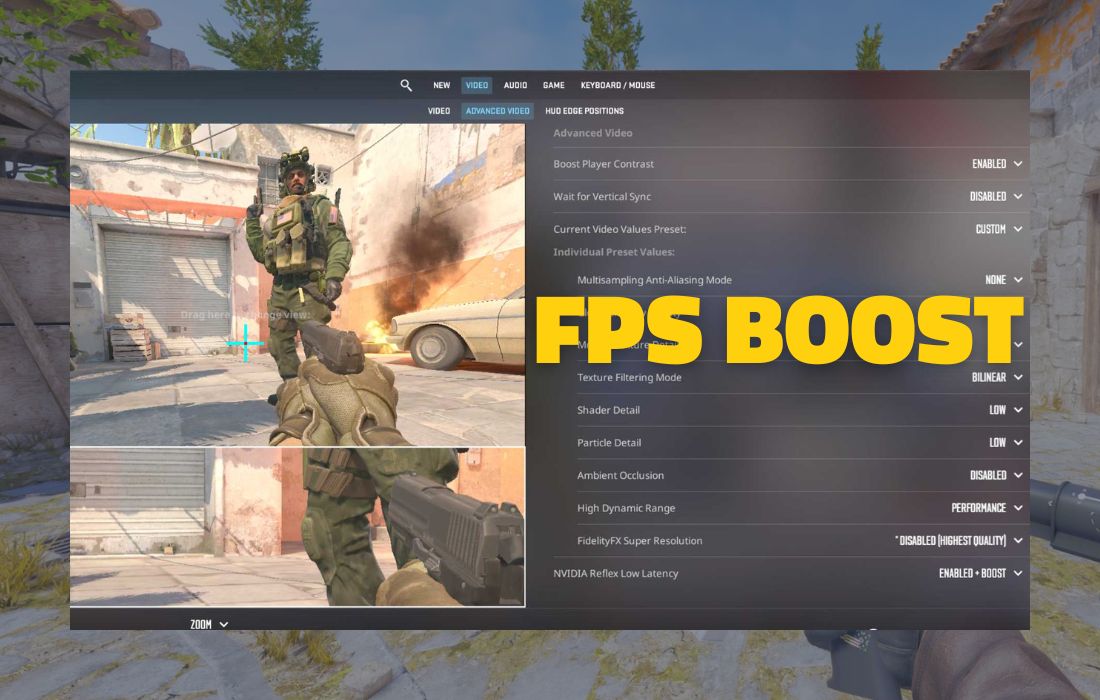
NVIDIA Reflex Low Latency: Set this to ENABLED + BOOST.
-
Why? “Enabled” just aligns the queue. “Boost” forces the GPU clocks to stay maxed out, preventing downclocking during quiet moments in a round.
-
-
Global Shadow Quality: High (Yes, really. In CS2, shadows give a competitive advantage. Your rig can handle it.)
-
Ambient Occlusion: Medium/High (Helps depth perception).
-
FidelityFX Super Resolution: Disabled (Native). Never upscale on a high-end rig; it adds fuzziness.
NVIDIA Control Panel (Manage 3D Settings):
-
Low Latency Mode: On (Do not use “Ultra” if you are using Reflex in-game; they can conflict. Reflex overrides this, but “On” is a safe fallback).
-
Power Management Mode: Prefer Maximum Performance.
Next Steps
Is your rig actually hitting the frames it should? Don’t guess.
Check your expected performance with our main tool: Counter-Strike 2 FPS Calculator
Verdict: The Smoothness You Paid For
CS2 config optimization isn’t just about hitting 999 FPS in the menu; it’s about making your mouse movement feel like an extension of your arm. By stripping the launch options, locking down network interpolation in your autoexec, and correctly utilizing NVIDIA Reflex, you eliminate the invisible friction between your hand and the headshot.
Get that config saved, restart your game, and go click some heads.